Manually renaming tens of thousands of photos is indeed a painful and time-consuming task.
Fortunately, third-party application developers have simplified this task by introducing easy to use tools with a well-designed graphical interface. We’re going to explore several methods to bulk rename your IrfanView photos and files.
To automatically rename your photos and files, consider using Easy File Renamer. It comes with 8+ renaming rules, and allows you to bulk copy/move files to your desired location. Download it from this link:
Rename IrfanView Photos Using Easy File Renamer
Easy File Renamer is Verified by Verisign
Using IrfanView
IrfanView, a free image viewing tool for Windows, offers a quick way to mass rename your photos.
- Double-click the IrfanView desktop icon.
- Click File, select Batch Conversion/Rename. Alternatively, you may use the keyboard shortcut B.
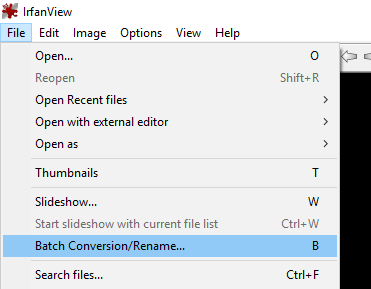
Click on Batch Conversion/Rename from the File Menu - You now have a new dialog with several options.
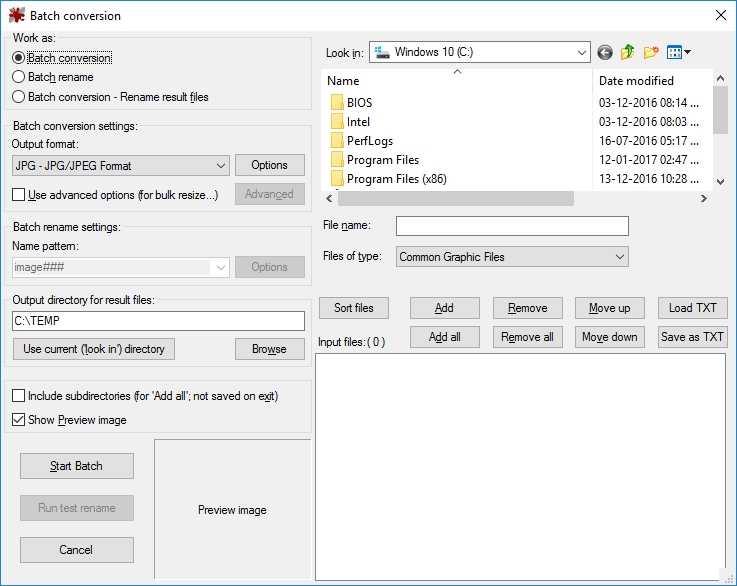
- Browse the directory that contains your images.
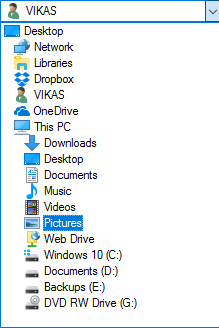
Browsing for the images’ directory - Select the images you wish to bulk rename. Click Add button to list them under the Input Files list box.
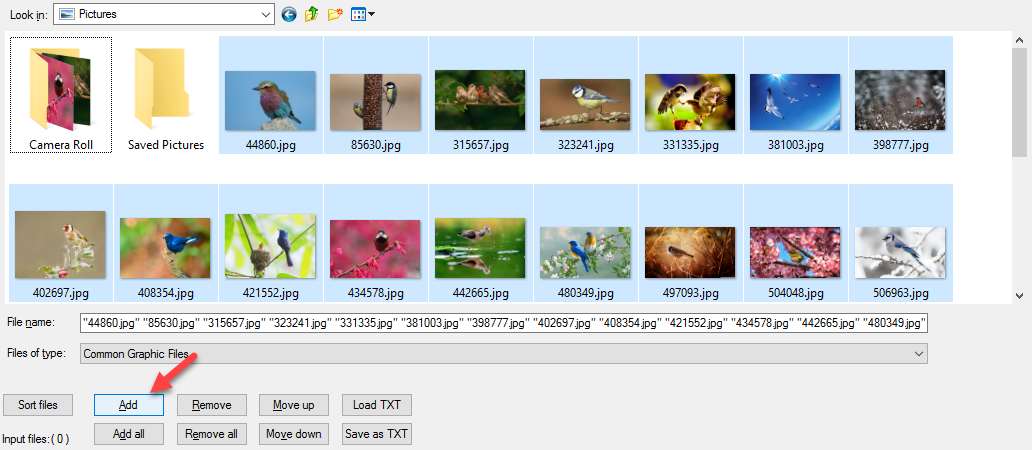
- You can add images from many other directories in a similar manner. You can export the files list by using the Save as TXT button.
- To remove a particular image added to the list box, select the file name and click Remove. To remove all the images, use the Remove all button.

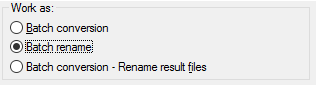
Choose between Remove / Remove all - Select Batch Rename option under Work as.
- Now click the Options button.
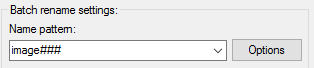
Click on Options - Specify a renaming pattern. Click Help to view support information.
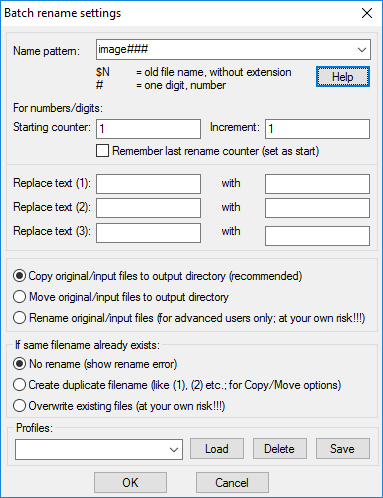
- Specify values in the Starting counter and Increment text boxes respectively.

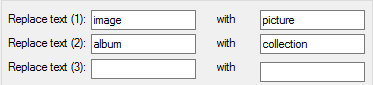
Specify the desired values - To replace text within filenames, specify desired values into the appropriate textboxes. IrfanView supports replacing three texts at a time. To replace more text, perform separate renaming operations.
- It is recommended to let IrfanView copy original files to the output directory. If you choose to move original input files to the destination directory (output folder), IrfanView won’t be able to reverse the action and it’ll rather change the original file names.

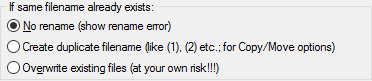
- Select an action to be taken in case a file already exists. Recommended: No rename.
- Click OK.
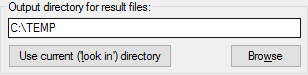
- In the Output directory for result files box, enter the full path where you want to store renamed files. You may, alternatively, click Browse and locate the desired directory.
- To display a preview, select the Show Preview image checkbox.

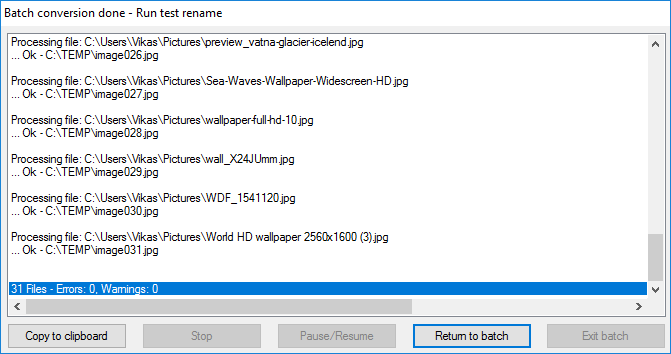
- To conduct a test rename operation, click Run test rename. (Optional).
- Test results will be displayed in Batch Conversion Done – Run Test Resume dialog box. To return to the previous screen, click Return to Batch. You can also copy the results to the Clipboard by clicking Copy to Clipboard.
Results are out - To rename all the files, click Start Batch.
Using Easy File Renamer
If you think renaming files through IrfanView isn’t easy enough, there’s a quick alternative. Simply install Easy File Renamer, specify the desired folder and renaming pattern, and perform the complex operation in one go. This small, yet powerful handy tool from Sorcim makes it easy to efficiently organize your files and improve organizational productivity.
- Download, install and run Easy File Renamer.
- Click the Rename tab, and then Files sub-tab.
- Select the desired rule from the Rules selection drop-down box. Specify a new name, remove/ replace text, use suffix/ prefix, add numbering, insert characters at desired positions, convert filename cases to UPPER or lower case.
- Ensure the Files tab is selected. Now, click Add Files.
- Browse the directory that contains the files you desire to rename. Select all files you intend to rename, and then click Open.

- Easy File Renamer lists out the selected files.
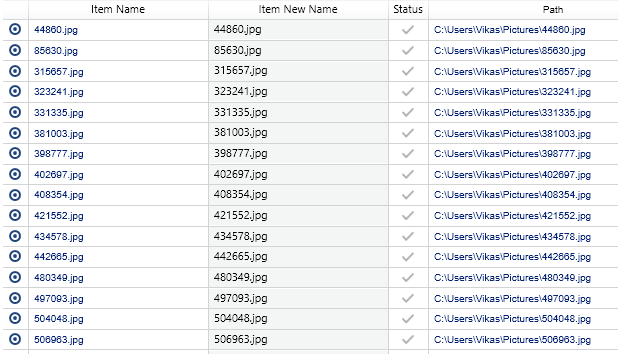
Selected Files being displayed - To view the file previews, select Show Preview.
- Click on Rename to start the batch renaming process.
Using File Explorer
File Explorer can essentially do the same renaming task though it doesn’t match the behaviour of powerful commands in Command Prompt. This is where keyboard shortcuts become useful. Use this method only if your files are limited in number and stored in the same directory.
- Press Windows Key + X, select File Explorer from the list of options.
- Go to the directory that contains all of your files.
- Sort the files in an ascending manner. To do so, click the downward arrow icon on the upper right corner of your screen to expand the Ribbon. Click the View tab. Select the Details layout. Click Sort by | Ascending.

- Highlight the first file in the list, press F2 key. If File Explorer fails to initiate the rename feature, you might want to press Fn + F2 (For Lenovo laptops). Alternatively, select a file, click the Home tab, and then click the Rename icon.
- Type the desired name for your file.
- Press Tab key on your keyboard to jump over to the next file in an orderly manner.
- Type the new name for the next file, and follow the same procedure until you’ve renamed all the files.
Using Command Prompt
You can rename bulk files through a bit of string manipulation using Command Prompt, an antiquated command-line interpreter tool from Microsoft. Command Prompt is commonly abbreviated as CMD, supports several renaming patterns. Before you initiate the following commands, make sure that all the files are in the same folder.
Launching Command Prompt
Press Windows Key + X, select Command Prompt. If the files are located in the primary partition (C:\) or a folder that requires special permissions, choose Command Prompt (Admin). The renaming operation may deliver error due to insufficient administrative privileges.
Changing the Current Directory
CD <Directory>
Example:
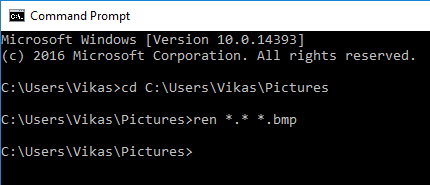
The following command will change the current CMD directory to the folder of your choice:
- CD C:\Users\Vikas\Pictures
Bulk Renaming All Files Extensions
ren *.* *.<NewExtension>
Example:
To rename all images to .bmp file type, use the following command:
- ren *.* *.bmp
Bulk Renaming Specific Files Extensions
ren *.<OldExtension>*.<NewExtension>
Example:
To bulk rename all .bmp file extensions to .png, use below command:
- ren *.bmp *.png
Preserving Only First 5 Characters in Each File Name
Rename *.<Extension> ?????.<Extension>
Example:
This command retains only the first 5 characters in each file and deletes the remaining ones:
- Rename *.jpg ?????.jpg
Inserting New Character at the Beginning of Each File
for %i in (*.*) do (ren “%i” “<NewCharacter> %i”)
Example:
This command will insert the word album at the beginning of each image file:
- for %i in (*.*) do (ren “%i” “album %i”)
Inserting New Character at the Beginning of Only Specific File Types
for %i in (*.<extension>) do (ren “%i” “<NewChar> %i”)
Example:
Inserts the word selfie at the beginning of only JPG files.
- for %i in (*.jpg) do (ren “%i” “selfie %i”)
Inserting New Character at the Beginning of Each Sub Folder
for /D %i in (*.*) do (ren “%i” “<NewChar> %i”)
Example:
Inserts the word collection at the beginning of each subfolder in the current directory.
- for /D %i in (*.*) do (ren “%i” “collection %i”)
Using a Batch File
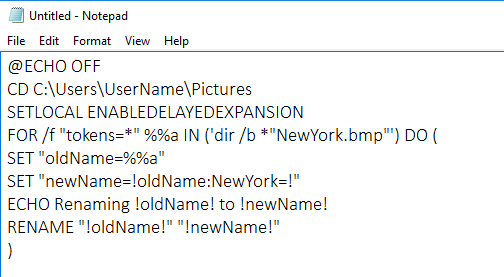
If you’ve amassed tens of hundreds of files named as Img001NewYork.png, Img002NewYork.png, …, Img100NewYork.png, or any other pattern ending with the word NewYork, the following Batch File (.bat) will delete the word NewYork from all file names.
- Click the Start icon.
- Type Notepad and open it from the Search Results.
- Insert the following commands with appropriate modifications. Replace UserName with your actual username and the word NewYork with the common word at the end of each file.
- Click File, select Save As.
- Specify the following arguments:
File Name: BulkRename.bat
File Type: All Files
File Location: C:\Users\UserName\Pictures
- Exit the Notepad.
- Go to the parent directory, double click the newly created BulkRename.bat file to execute commands of your choice.