There are different ways to bulk rename Zoner Photo Studio images:
The first way: Using the pre-built feature in the software. Other ways include Windows PowerShell, a command-line utility; Bulk File Renaming tool such as Easy File Renamer, and the File Explorer. You must keep all files in a single folder if you wish to rename them using PowerShell or File Explorer. Nowadays, there are a lot of bulk renaming utilities that simplify routine mass renaming operations.
You can automatically and more easily rename photos using the Easy File Renamer utility here:
Rename Zoner Photos Using Easy File Renamer
Easy File Renamer is Verified by Verisign
Renaming Files Using Zoner Photo Studio
If you are looking for a way to rename files with specific character strings and change the name case than the ‘in house’ feature offered by Zoner Photo Studio is just what you need. You’ll be able to rename tens of dozens of files in a couple of minutes no matter whether they are located in a certain folder on the hard disk or across various directories.
- In Zoner Photo Studio UI, expand the Catalog category and then Folder View.

- Click to open a folder that contain the images which you wish to rename.
- Now select all the images which you wish to rename.
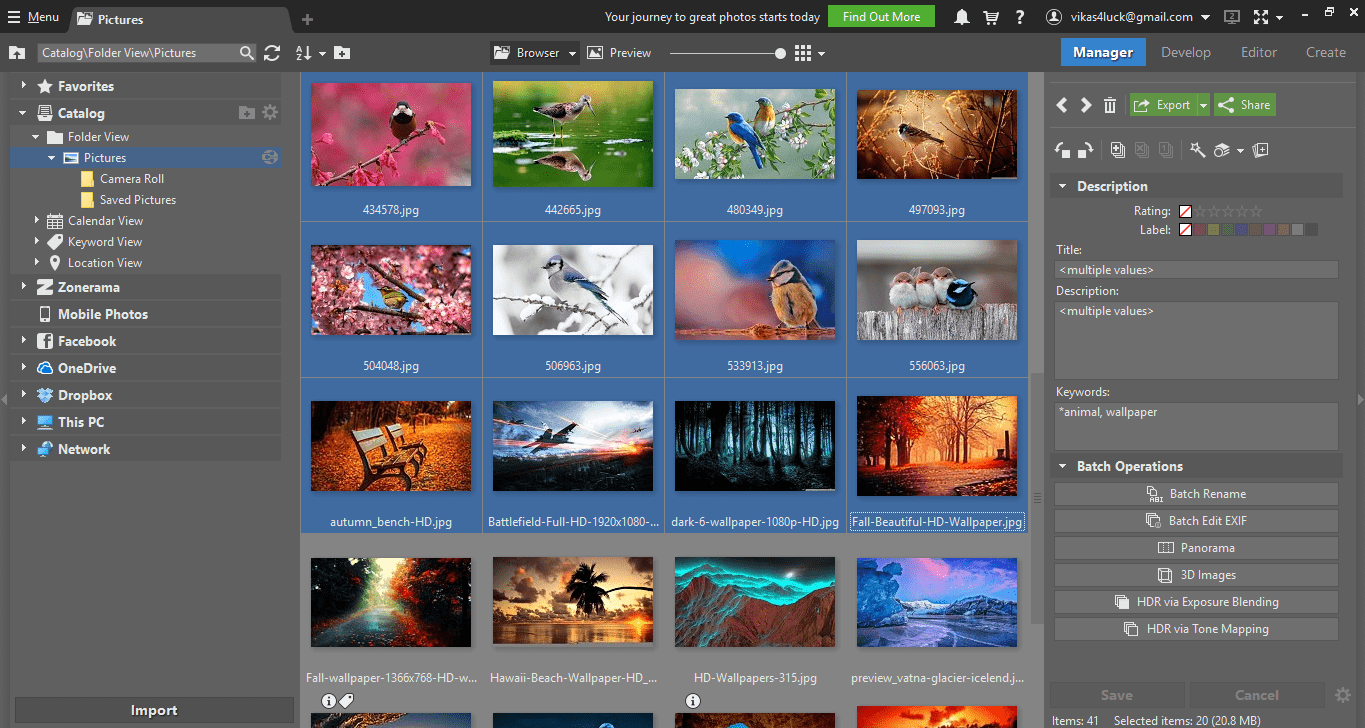
- Click the Menu icon on the left and point to Organize.
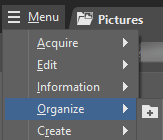
Click Menu | Organize - Select Batch Rename.
- You will now get a new dialog that shows previews of all selected images, along with a couple of other settings.
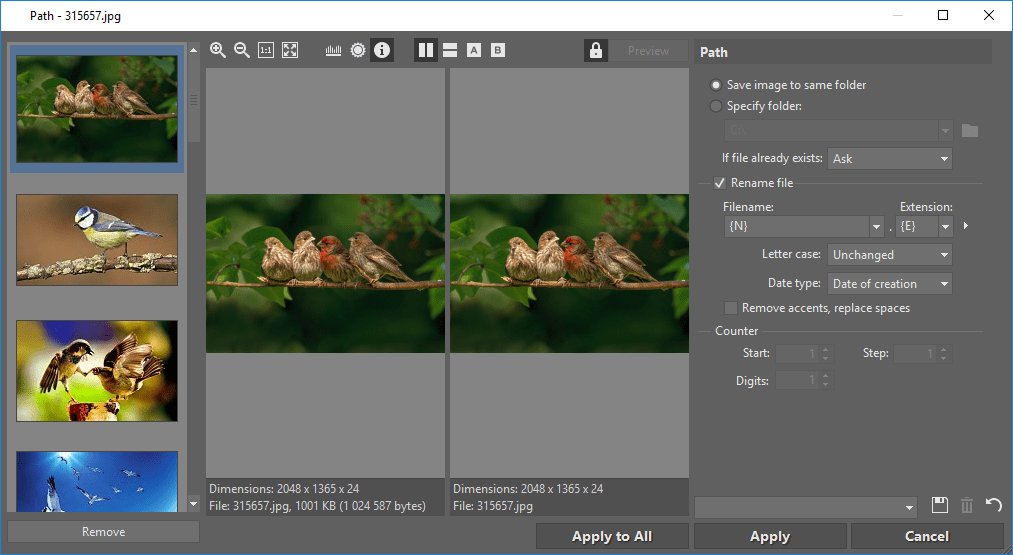
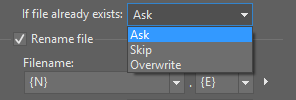
- Select the Rename file checkbox on the right panel.
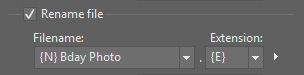
- The Filename and Extension textboxes represent {N} and {E} respectively as default values.
- Enter a new text value in both the Filename and Extension textboxes. A live file name preview will be displayed at the bottom of the dialog.
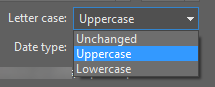
- To change the text case, select either Uppercase or Lowercase option in the Letter Case dropdown box. To keep the text case unchanged, leave the default Unchanged option selected.
Select your desired option - To replace spaces in file names with an underscore ( _ ), select the Remove accents, replace spaces checkbox.
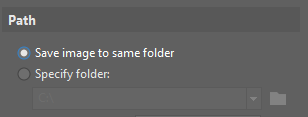
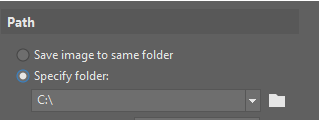
- If you wish to rename and save images to the same folder, select the Save images to same folder option.
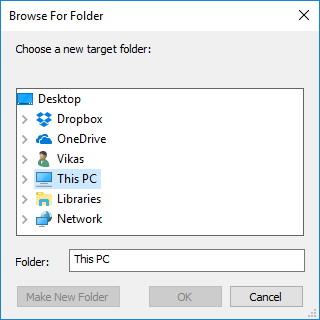
Otherwise, select Specify folder. Click the Browse icon, select the destination folder and click OK.
- Do you wish to automatically rewrite files in case they already exist? Then set the If file already exists option to Overwrite. Else, if you wish to ignore, select Skip. And if you wish to get a prompt every time, select the Ask option.
Make your choice - Finally, click Apply to All to process and automate the renaming task.
Renaming your Files Using Easy File Renamer
Ever wondered how to rename a bunch of files without going through each of them? Sorcim’s Easy File Renamer simplifies the whole process and provides excellent renaming patterns courtesy it’s high powered architecture. You can also perform tasks such as bulk copying/ moving of files as well. Most importantly, it isn’t a command-line utility. You don’t need to enter any complicated command-lines. It’s powerful and extremely easy GUI makes it a unique tool out of many other options available in the same category.
Advantages
- Quickly renames your files using EXIF metadata and ID3
- Supports renaming all file types, including documents, music, images, downloads, archives etc
- Add file creation, modification time stamps into the file names, e.g. add date of photos captured
- Add numbering to your files, e.g. Image1.jpeg, Image2.jpeg
- Insert custom text into file names, e.g. add the location of photos taken
- Specify a position to remove characters from file names, e.g. Remove characters 5 – 7 from all filenames
- Supports hassle-free bulk moving / copying of files
- Replace text within file names, e.g. replace the word “photo” with “image” across all 500 filenames
Procedure
- Download and install Sorcim’s Easy File Renamer.
- Take a closer look at the screen and ensure that the application mode is set to Rename.

- Click on the Files tab.
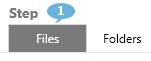
Select the Files tab - Select the Directories option.
- Ensure that the Show Preview option is selected. Now click Add Files.
- Select the folder(s) that contain your Zoner Photo Studio images and then click OK.
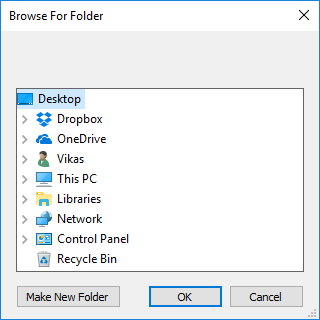
Selecting the folder(s) that house Zoner PhotoStudio images - The contents of the folder(s) will be added to the renaming queue.
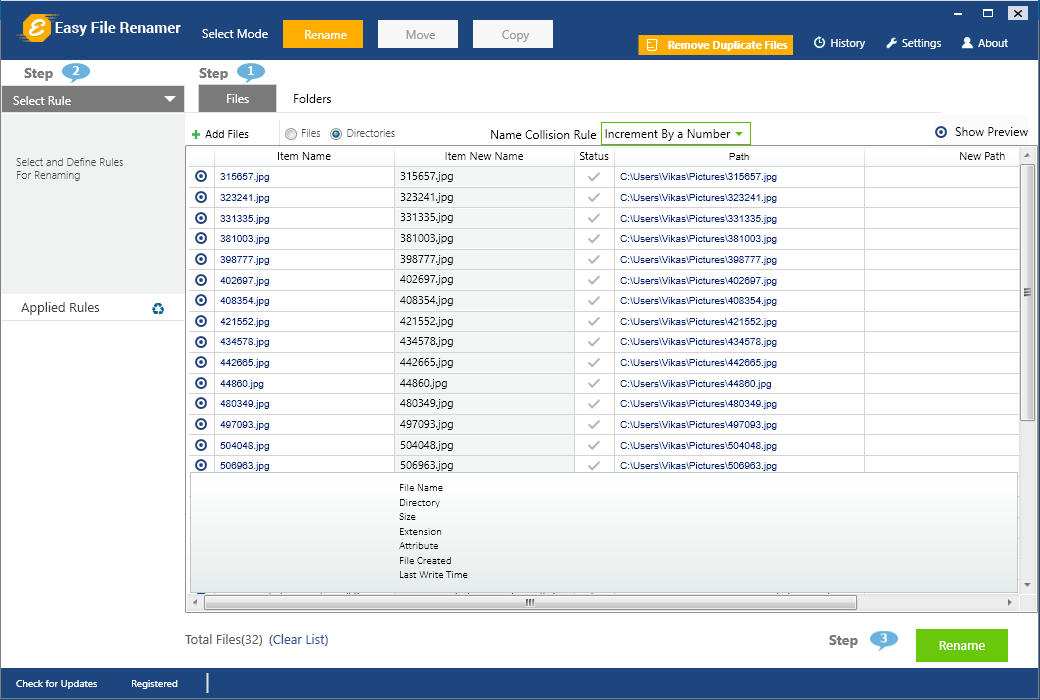
- Select the rule of your choice.
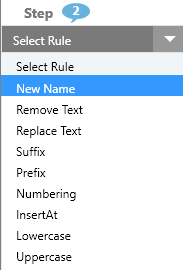
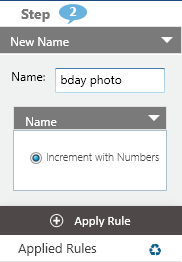
Select your desired rule - Now insert the appropriate parameters. For example, if you selected the New Name pattern, type the desired name in the textbox, and then click Apply Rule.
- Easy File Renamer supports multiple rules. You can add as many patterns as you want. Just click the downward arrow, and repeat the whole procedure. In this example, we have applied 4 rules.
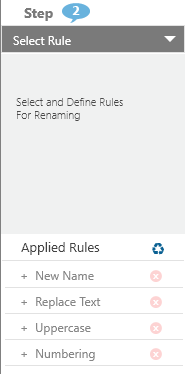
Applying multiple renaming rules - Finally, click the Rename button.

Sit back, take a cup of coffee and let Easy File Renamer do all the good work.
Renaming your Files Manually
In the File Explorer (earlier known as Windows Explorer), if you rename a file and hit the Tab key, it jumps over to the next file. If you have limited number of files, this trick can make the renaming task a lot faster. This method is not suitable if you have to rename a whole lot of files.
- Go to the Zoner Photo Studio catalog folder, which usually is C:\Users\<UserName>\Pictures.
- Click the downward More icon at the far right corner of Ribbon interface.
- Click the View tab.
- Now click on Group by and select the Name option from the dropdown menu.
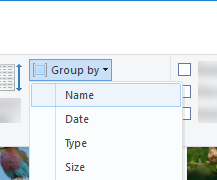
Select to arrange items in an alphabetic manner - Make sure that the Ascending option is selected in the same dropdown menu.
- Select the first file.
- If you’re a Lenovo laptop user, press Fn + F2 keys simultaneously. For other laptops/ PCs, simply press the F2 key.
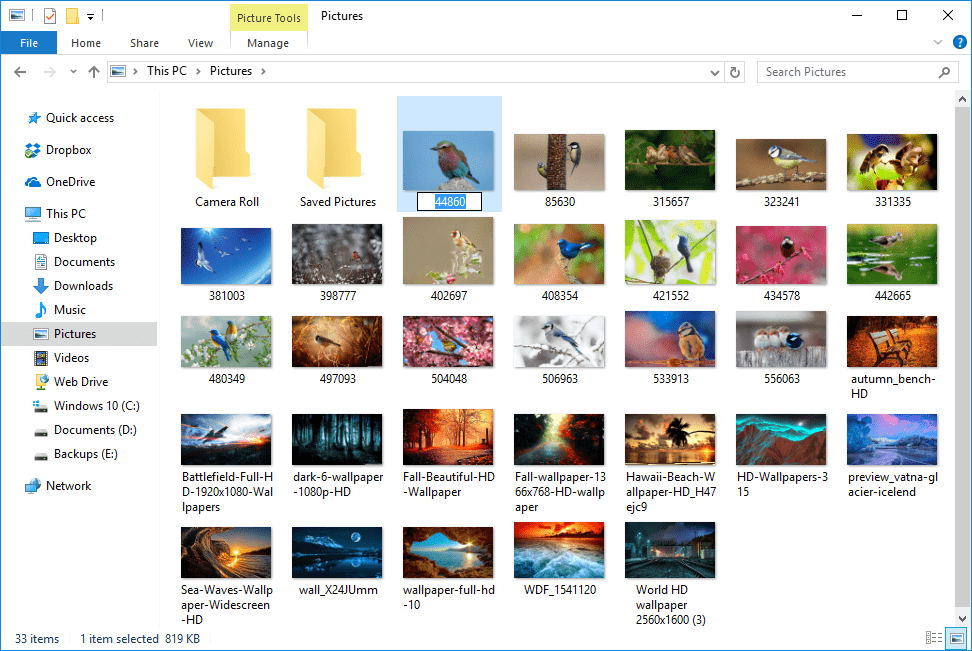
- Type a desired file name. Do NOT hit Enter at this stage.
- Press the Tab key on your keyboard to jump over to the next file in an orderly manner.
- Type a new name for the next file, press Tab again to jump over to the succeeding file.
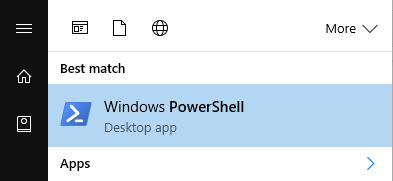
Renaming Files Using PowerShell
Windows PowerShell comes well equipped with basic batch renaming features. You can rename all the files in a folder with great ease and flexibility. It is important to note that all your files must be in a single directory while you go on with performing this task. Also, DO NOT keep any other files in the same folder until the renaming operation hasn’t been concluded.
- Type Windows PowerShell in the Search Box on the Taskbar.
- Open up Windows PowerShell from the Search Results.
- Use one of the following commands:
Command to Replace Strings in File Names
- Cd <Directory>
- Get-ChildItem | Rename-Item -NewName {$_.name -replace ‘old keyword,’new keyword’ }
Example:
The following command replaces the letters ABC with XYZ from all the file names found in the Documents directory of your computer’s primary partition.
- Cd C:\Users\Vikas\Documents
- Get-ChildItem | Rename-Item -NewName {$_.name -replace ‘old keyword,’new keyword’ }
Command to Replace File Extensions
- Cd <Directory>
- Get-ChildItem -path *.<extension to search for> | Rename-Item -NewName { $_.Name -replace ‘.<extension to search for>’,’.<new extension>’ }
Or
- Cd <Directory>
- Dir *.<extension to search for> | rename-item -newname { [io.path]::ChangeExtension($_.name, “<new extension>”) }
Example:
This command replaces each Microsoft Office Word Document (.docx) file extension to Text Document (.txt).
- Cd C:\Users\Vikas\Documents
- Get-ChildItem -path *.<extension to search for> | Rename-Item -NewName { $_.Name -replace ‘.<extension to search for>’,’.<new extension>’ }
Alternatively, you can run the following command to replace all .tmp files with the .temp file extension:
- Cd C:\Users\USER_NAME\Documents
- Dir *.<extension to search for> | rename-item -newname { [io.path]::ChangeExtension($_.name, “<new extension>”) }
Zoner Duplicates
If you are looking to eradicate duplicate photos from Zoner, check this guide: Zoner duplicate photos removal.