If you often capture a lot of snaps, you must have accumulated tons of images in no time on your laptop’s hard disk. And searching for a particular image must have become a herculean job as modern
cameras give difficult names to images. This results in simple disorganization of your photos’ library in no time. The purpose of this article is to show you how we can simply rename a lot of photos in Adobe Bridge.
A few mouse clicks in all what it takes to rename images in Adobe Bridge. Simply get your hands on Easy File Renamer, load up the images (that have to be renamed) in its user interface, select the relevant options and witness the swiftness and accuracy do the goods.
Rename Adobe Bridge Images with Ease
Easy File Renamer follows Google Software Principles
Now let’s shift our focus at renaming images via the native renaming feature of Adobe Bridge.
Launch Adobe Bridge by simply clicking on the desktop shortcut, or run it from Adobe products, e.g. Photoshop.

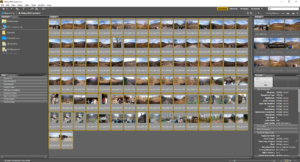
From the pane on the left-hand side, we will open the folder that contains the images which have to be renamed. In this case the folder’s name is Hiking 2014.
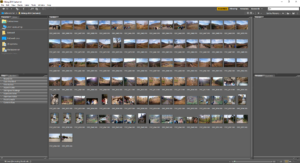
Since we have to rename all the images in this folder, we will Ctrl + A in order to select all the images.
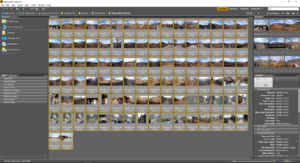
Now we click Tools | Batch Rename. Alternatively, we can press Ctrl + Shift + R.

Let’s take a detailed look at all the options from the window that pops up.
- Presets are used to save all settings for fast renaming in the future.
![]()
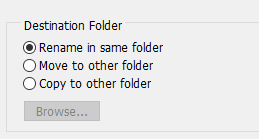
- Destination Folder allows you to choose where will the renamed images be stored. We want them to stay in the same folder, so we select Rename in same folder.
- New filenames allows you specify new filenames for the images before embarking on the renaming spree.

- This option allows you to save old names in Metadata, thus they can be extracted from files even after renaming. If you need that, you have to choose compatibility for OS.

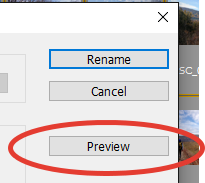
- And the last one is Preview, which shows us what new name will the renamed file eventually get.

Now let’s get back to our main job, file renaming. One of the most crucial options that will help us is Text. As you see, when you add some text in the textbox, it gets added to the new filename. But we need to add some more options, otherwise all the images will be named as Hiking2014_.JPG. Click + to add more options.
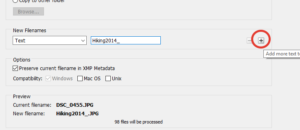
So we choose to add Sequence Number to the images. This means that the images will now be numbered in a sequential order. By selecting Three Digits, we’re specifying that the numbers of images will be in excess of 100.
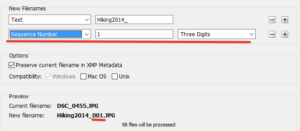
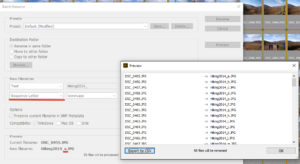
So the new filenames will be a combination of Text and Sequence Number. Let’s click Preview to have a look at the samples filenames.
We can also choose Sequence Letter instead of Sequence Number to get letters in the filename instead of numbers.
To change the file extension, we will select New Extension.

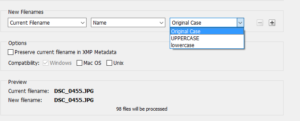
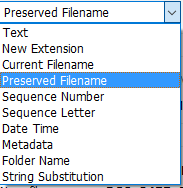
Let’s look at other options now. We can use the Current Filename for the renamed files by and then select the most appropriate option from the dropdown menu ahead of it.
The Preserved Filename is more or less the same as Current Filename, with the exception that it allows the user to fetch names from Metadata.
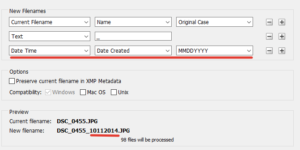
We can even choose to add date / time of the file’s creations to its filename. We should select Date Time option and then we get several more (related) options to choose from.
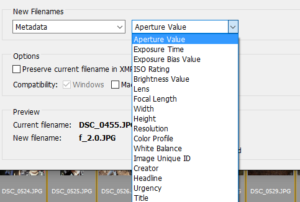
For advanced users / professional photographers, the Metadata option will particularly be of interest.
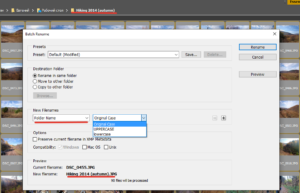
Yet another option is Folder Name, which lets you add up the folder’s name to its constituents. This option is particularly handy if you happen to have tons and tons of images divided into a huge gallery. This option enables you to easily track images in the future.
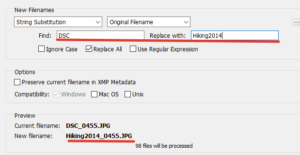
The last option is String Substitution. This option enables you to replace a part of the filename with text of your choice. In this example, we choose to replace DSC with Hiking2014.
Once all the relevant options have been selected, we click Rename and the end result come up in an instance.
We hope this article was helpful. Have a good day!