A Network file system drive is a shareable drive in a file system that allows multiple users in the same network to easily share content with each other. It is quite useful to save the external bandwidth in an organization or a small household as all the traffic is flowing through the Intranet.
Product Spotlight (Empty Folder and Duplicate Files): De-duplicate Files and Clean Empty Folders Automatically. Use Clone Files Checker TODAY!
Clone Files Checker software is made by our company, Sorcim Technologies.

Privacy Promise: No email required to download software.
We have decided to never store, share, or use your email
for advertising purposes.
Windows 10 comes with OneDrive installed on it to share files, but it uses the Internet to share content; which means external bandwidth is consumed. With NFS, the external bandwidth is preserved at the expense of internal bandwidth, and therefore the cost of network maintenance is much lower. However, the bandwidth of the Intranet is still not unlimited, and is subjected to the speed limit of the NIC (network interface card), and the wires used to connect the devices. This is why it is very important to optimize the file system for a better performance within the Intranet. This guide teaches how to weed out duplicate files in NFS drives to speed up their performance in a Windows system.
Setup and Run a NFS on Windows
A network file system can be easily turned on in Windows 10. Here is how to do that.
Right-click on the folder to be shared across the Intranet and select Properties.
Switch to the Sharing tab, locate the Share button and click it.

Select the user with whom you want to share the folder. If the folder has to be made available for everyone, select Everyone. Be advised this will share the folder with anyone who can access that Intranet. You can also add up specific users and grant them read/ write permissions as per your choice.

Once the user and their access level stage has been done with, click OK to get the link to the shareable folder. This link consists of the computer name, and the folder name. Simply copy it to the clipboard.
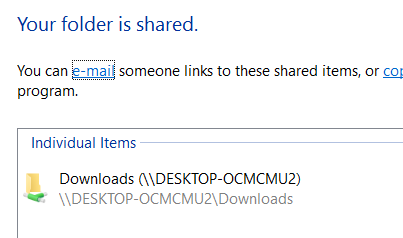
Open Run from the Start menu and paste the link you just copied and then hit the Enter key.
The following window will appear and navigate you to the targeted folder.

Now whenever there is a need to access this specific folder (which you just shared), navigate to the Network location in Navigation Pane and then click on the shared folder.


Configure Advanced Settings
Advanced Settings allow administrators to tweak the behavior of the default sharing. The major advantage here is the ability to use aliases, adding comments, throttling the bandwidth of the Intranet if the specific number of users or more are connected to the folder at once. This is not needed for an average user, but for an organization this feature comes in handy.
Follow the first two steps in the last solution and then locate the Advanced Sharing section.

Click to open the following Window, and then click the Add button.
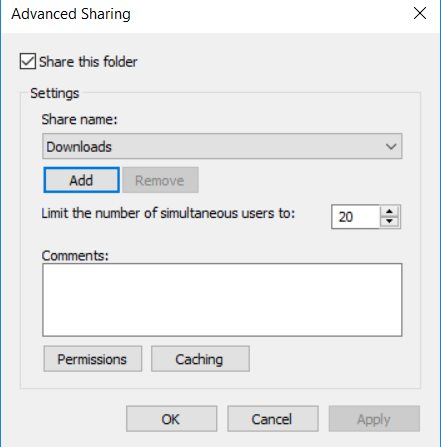
Give it an alias name, and a description. Alternatively, a user limit can be specified here as well to ensure the connected users are getting a good user experience. This is quite useful if the organization doesn’t have a handsome amount of bandwidth in their Intranet. For instance downloading a 1 GB file takes a significant amount of time if the NIC (network interface card) is rated at 100mbps. In this case, if a large number of users are simultaneously trying to download the file, the entire Intranet can go offline. To prevent such cases, it is recommended to limit the number of users at a given time.

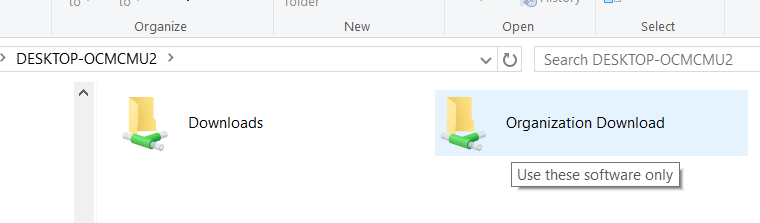
Click OK and a folder named share name will now appear in the network folder under the computer name.
Remove Duplicate Files in a Network File System
Clone Files Checker is a duplicate file removal application that makes it easy to weed out duplicate files from the file system with a couple of clicks. Use the following steps to remove duplicate files from a network file system (NFS).
Open up Clone Files Checker, and add the folders you want to scan (from the network file system). Once the folders have been added, you will notice that the path doesn’t start from an alphabet character.
Select the type of duplicate files to be included in the search. CFC has a range of options from Documents, Archives, Music, Videos, and Images. Additionally, the size of the files can be specified underneath. Selecting these options drastically reduces the scan time. Click Start Search to launch the scan.

Once the scan is over, you will see a window with the search result as shown below.
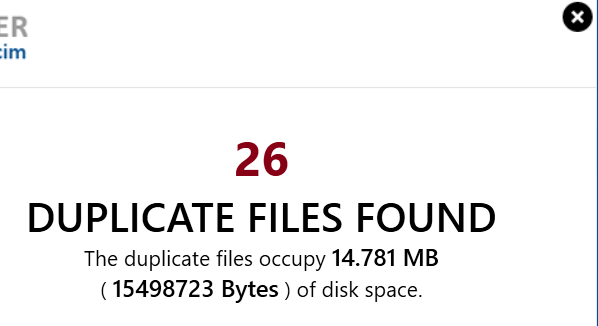
Go through the search result and you will notice the duplicates will be clubbed together.
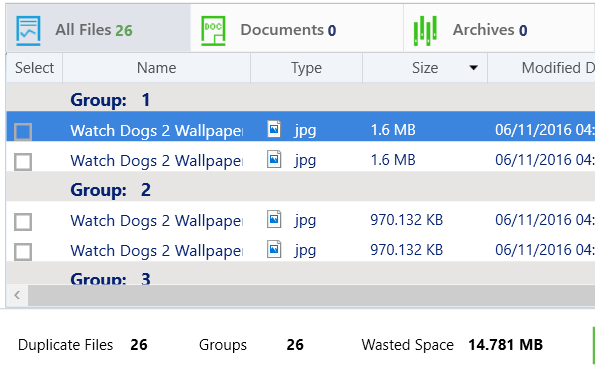
Select the files that have to be processed. For instance, if Retain the newest files in each group option has been selected, it keeps the latest file of the respective file, and selects all the older versions of it.

Last, click the Select Action button and choose between permanently delete the duplicate files, or move to folder.