One of the biggest advantages offered by digital content is the huge ability to be able to copy data across various mediums easily enough.
This is the reason file copying is frequently employed not only between different locations in the same medium, but also between locations on different mediums. Examples include copying a file from C partition to D partition (for the former) and copying a file between different platforms such as from a PC to an Android or iOS smartphone (for the latter). However, the task of copying a file to a different location might take a while to successfully conclude. Some of the major factors that contribute to the time required are the file size, system specifications, state of the RAM and so on. This is exactly what we’ll be trying to discover in this article, as we delve deep into methods to increase the file copying speed in order to save time.
Sorting the computer Registry at regular intervals is a very key component in ensuring the computer performs at optimum levels. Not many computer users know about this fact that regularly scanning and sorting the Registry can make a huge difference in rendering the computer/ laptop in top-notch condition, which as a turn means that it will perform its tasks efficiently and swiftly.
Solutions
Solution 1: Turn Off the Antivirus Guard
One of the biggest ‘hurdles’ of sorts we encounter while moving files to a new location is interference caused by the real-time protection of the Antivirus guard. This feature basically scans each and every active file for threats, and consequently ends up delaying the file copying procedure. So, it’s recommended to turn off the real-time protection while you’re about to copy files to improve the file transfer rate.
- Launch Windows Defender through the Start menu.
- Locate Settings and click it.
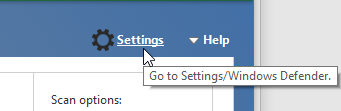
Click Settings - Scroll down until you come across the Real-time protection value. Move the slider to the left to turn it off.

Turn off Real-time production - Now you can initiate the file copying procedure.
Solution 2: Update Windows 10
Microsoft often releases updates for Windows 10 in order to further polish it up. These updates not only improve the performance of Windows, but also bring about new features to the computer. Hence, it’s recommended to make sure Windows 10 is up-to-date. Usually the updates are delivered automatically unless the user has opted for the manual method. In that case, follow the procedure outlined in the following lines:
- Type Check for updates in the Start menu, and click it.
- Click on the Download button to initialize the process.
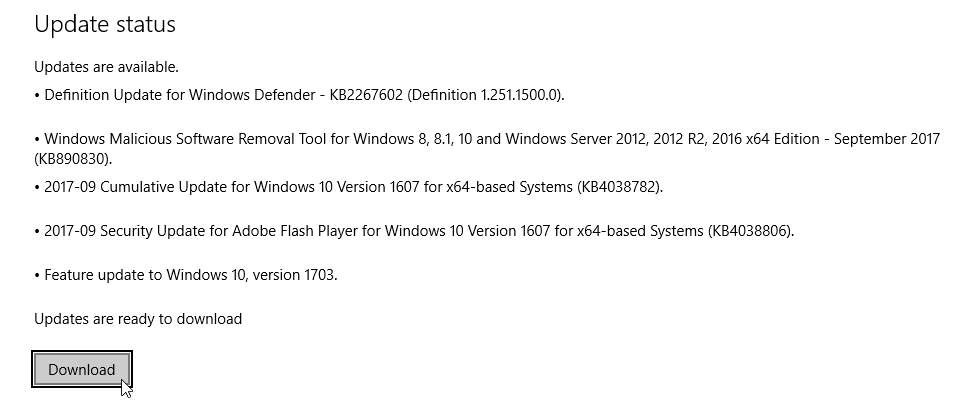
Click Download to initiate updating Windows 10
Solution 3: Use Robocopy with Multithreaded Mode On
Robust File Copy, aka robocopy is a new file copying application that was launched for the first time via Windows Vista. Due to its utility, it has managed to find a place in all of the subsequent Windows editions. It comprises of a multithreaded mode which significantly boosts the file transfer rate in multi-core processors. Even though multithreaded mode sounds like improving the file transfer rate even on non-multi-core processors, on the contrary it significantly reduces the file transfer rate due to the hardware limitation, and changes in the threads. So, it’s better to use the appropriate multithreaded value for robocopy.
It’s recommended to match up the number of threads to the number of cores of the CPU, this is because one core can only work on one thread, and to process the next thread the CPU has to change it, and thus it adversely impacts the performance significantly.
Type the following command in Command Prompt to find out about the number of cores available in the CPU.
echo %NUMBER_OF_PROCESSORS%
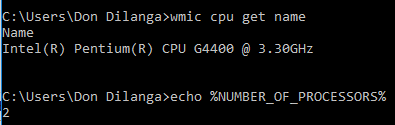
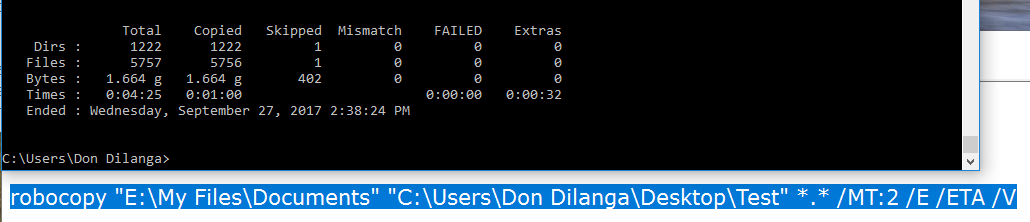
In the following steps, use the value you just got next to “MT:” which specifies the number of threads to use in copying files.
- Launch Command Prompt via the Start menu.
- Type the command in the following format to initiate the copying.
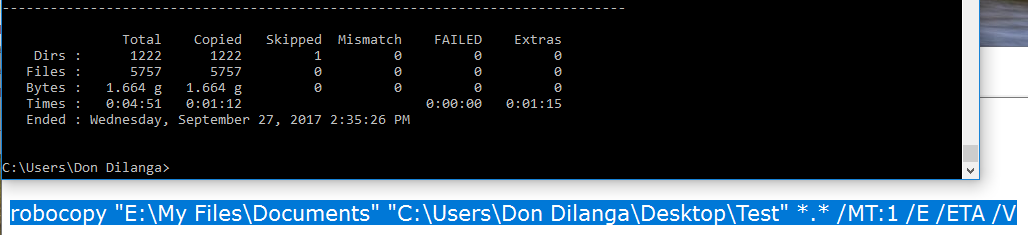
robocopy “Source Folder” “Destination Folder” *.* /MT:2 /E /ETA /V
Example:
robocopy “E:\My Files\Documents” “C:\Users\%userprofile%\Desktop\Test” *.* /MT:2 /E /ETA /V