Even though there is a large number of cloud platforms available nowadays, OneDrive is in a league of it’s own as it comes embedded within Windows 10. This is a huge edge that no other cloud service enjoy right now, and this is precisely the reason why a lot of users are switching to OneDrive. This article talks about moving multiple files to your OneDrive account.
If you wish to avoid manual steps, you can try Sorcim’s Easy File Renamer. It has a fully functional files mover which can move files across Onedrive. Use it here to save your time on managing files:
![]()
Solutions
Solution 1: Using The Desktop Client
This method is the most ideal one as the OneDrive desktop client is already installed if you’re a Windows 10 user, and all you need to do is to sign in with your Microsoft account credentials. But if you’re using an older version of the version of Windows, you will have to download and install OneDrive desktop client manually.
- Open up the start menu.

- Search for OneDrive and open it from the Search Results.

Launching OneDrive - The OneDrive icon will then show up in the notification area as seen in the following screenshot.

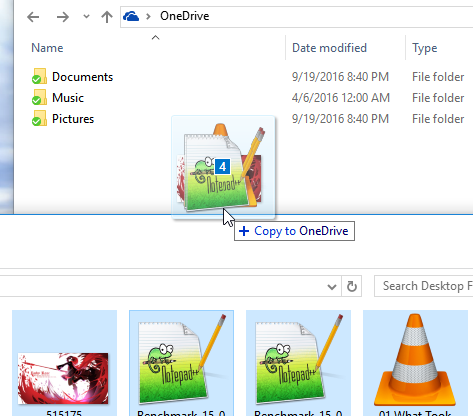
- Now navigate to the location where all the files that have to be moved to OneDrive reside. Select all the files which you intend to move.

Selecting the target files - Now drag and drop the selected files into the OneDrive folder which usually resides at C:\Users\USER_NAME\OneDrive.
- Now the OneDrive desktop client will sync the changes to the cloud. Patiently allow the process to complete.
Solution 2: Using The Web Version of OneDrive
The downside of using the Desktop version of OneDrive is the consumption of a large amount of bandwidth if the volume of files that have to be synced is too high. For instance, if there are files that weigh hundreds of GBs in your OneDrive account, and due to some reason they’re not yet available in your computer. So once you start the sync process, the OneDrive desktop client will download an exorbitant amount of files, hence eating up huge chunks of your Internet plan’s data limit. To avoid such a scenario, you can opt to simply use the Web version. It’s simple, fast and can be used anywhere on the Globe!
- Visit https://onedrive.live.com/. Login to your Microsoft account before proceeding to the next step.

- Navigate to the folder where you wish to move the files to.
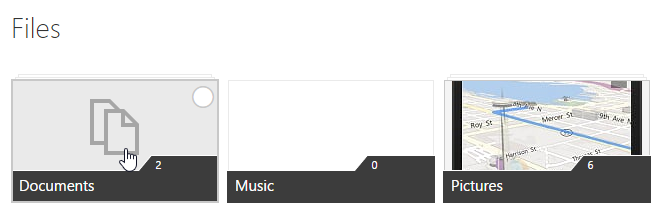
Navigating to the destination folder - Select all the files that have to be moved, drag and then into the concerned OneDrive folder.
Dropping the target files to the target OneDrive web folder
Solution 3: Using A Third Party Service
This method is ideal for those users who intend to move a set of files from one cloud platform to another without having to download the files to their local system. For instance there is no formal bridge between Google Drive and OneDrive. This necessitates the need of a software / app that acts as a transit point and frees you from having to download all the data on your compute and then upload it to OneDrive, thus saving your time as well as Internet bandwidth.
- Visit the following website:
https://www.otixo.com/en/home-otixo/ - Click on the Sign up button.

Click on Sign up - Use either a social network account or your email address to register your account.

- Once the registration is over, sign in to your account.

Log in once the registration is over - You will be directed to a separate window where you can add all the cloud platforms which will serve as the source and destination for the data that has to be moved.
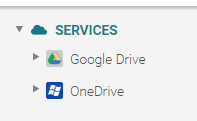
- Click the grey plus icon just next to the SERVICES label.

- Add the source cloud platform to Otixo.

Adding the source cloud account - Now add OneDrive.

- Once they have been successfully added, both the cloud platforms will appear in the left hand side panel.
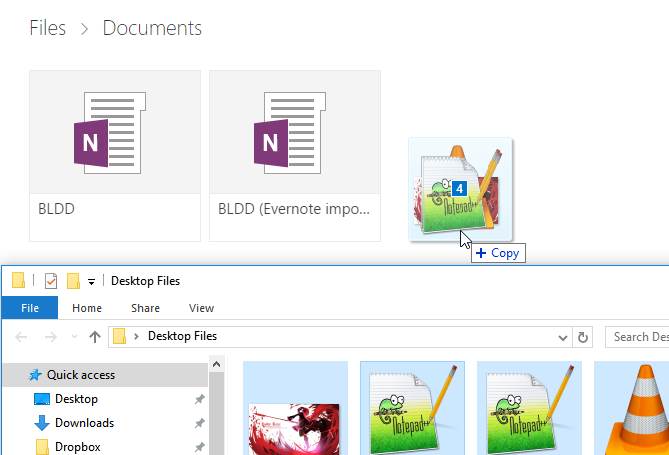
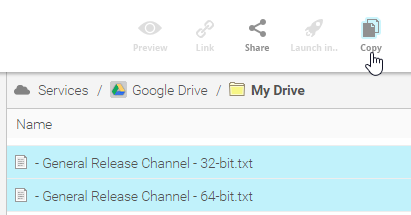
- Click on the source cloud platform under the SERVICES heading and select multiple files. Next, click Copy to start copying the files.
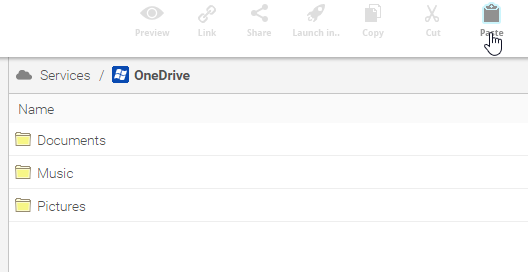
Selecting all the files and then copying them - Navigate to the OneDrive folder and click the Paste button to initiate the files copying process.
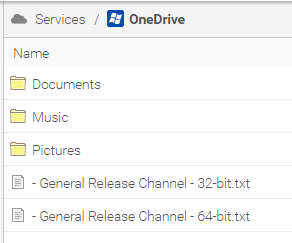
Files transferred successfully